Pushing deeper into the ancient Nordic tomb, the group finds itself in a large area where a large sarcophagus rests atop a small plateau, next to a stone throne. Sitting atop the throne was a heavily armored Dragur. Behind them was a rounded wall with large script etched into it, parts of it glowing lightly. A shallow river with a small stone bridge separated the group and this impressive scene.
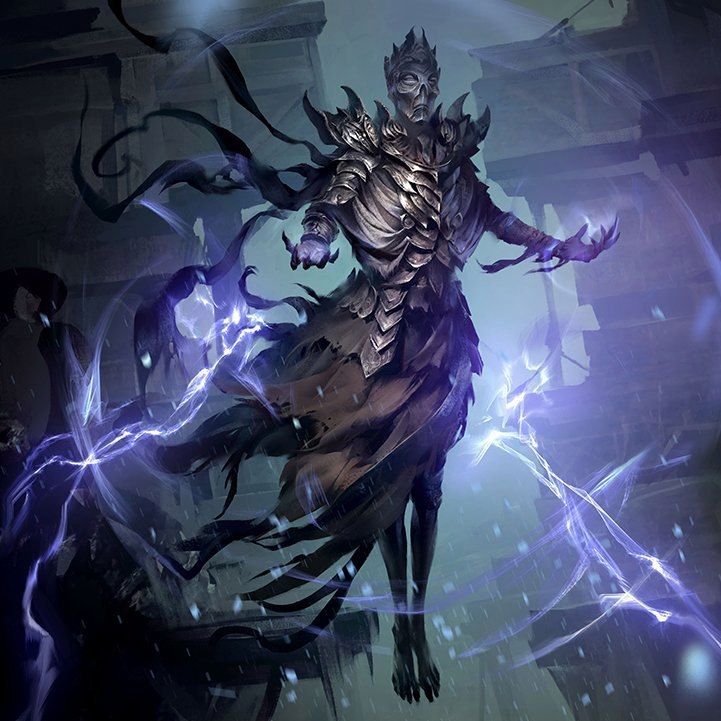
As soon as the group was detected, the Draugr Overlord sitting atop the throne stands up, and calls out a name in Ancient Nordic. At that point, multiple tombs built within the walls of this chamber opened up, his underlings joining him in defending their leader.
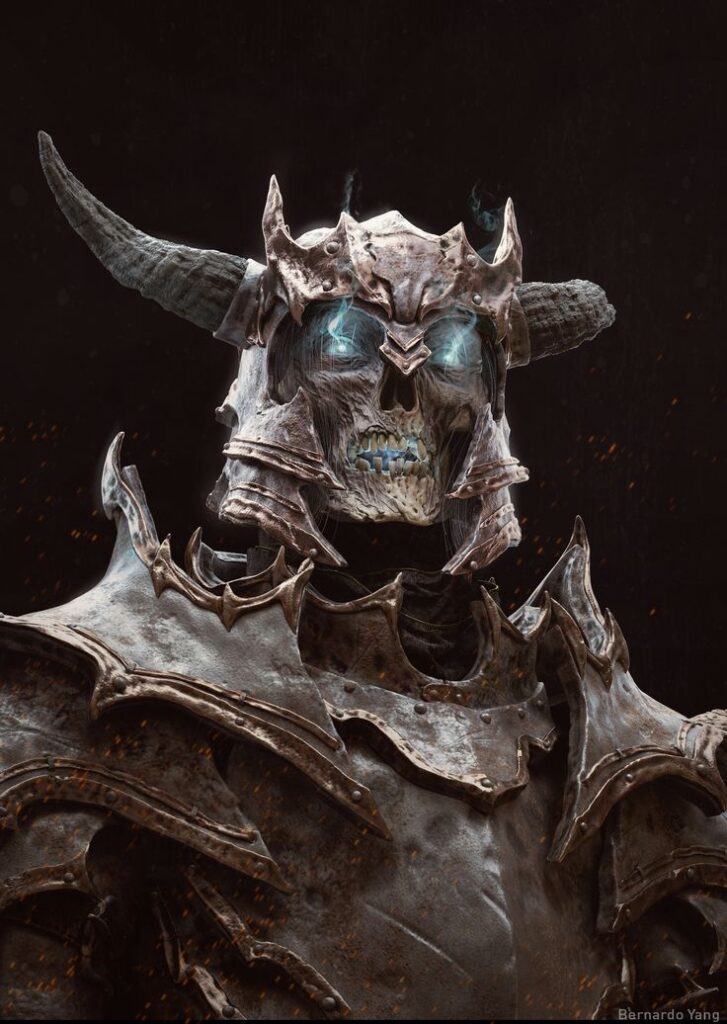
The leader himself, an ancient Dragon Priest also arose from the sarcophagus, conjuring up a strong illusory dragon to distract the invaders. Once the illusion was dealt with and some of the Draugr were put to eternal rest, the Dragon Priest shape shifted into a Dragon himself. But this did not stop the HAS from eliminating all the undead inside this tomb.
Once everything was dealt with, the HAS looted the place, finding some interesting magic items to equip themselves with. Then the group investigated the glowing wall, and after numerous attempts, discovered that by invoking it, they could replicate a spell that disarms one’s opponent, but could not figure how to permanently learn this magical effect. Once they were satisfied with the result of the day’s adventure, the group exited the dungeon and made their way back to Whiterun, to report to their quest giver, who paid up more than the originally agreed amount, due to the more than valuable information provided about the Wall of Power.